Hope & Gloria - Sewing Inspiration for Children

Hope & Gloria - Sewing Inspiration for Children
Happy Mother's Day UK

Thursday, June 11, 2015

Junior Sewing Bee Ideas


The countdown has well and truly begun for the first ever Hope & Gloria Junior Sewing Bee. 

One of the challenges that we have set our 30 finalists is to create their own "Showstopper" design as part of the Grand Final that takes place later this month.

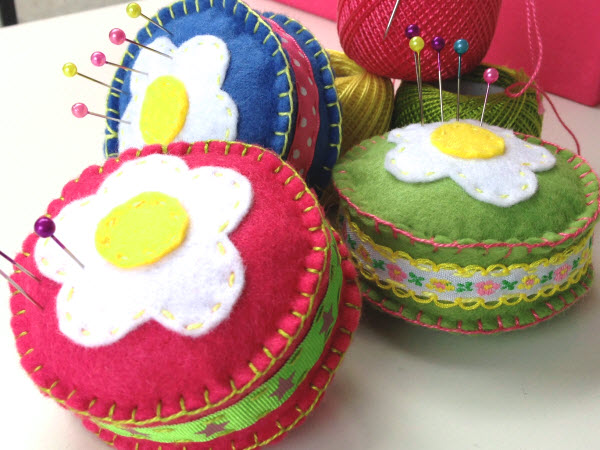
Because the event should be as fun as possible I have offered a little help along the way and if the finalists choose to they can make use of a range of pre-cut felt shapes to create their project.

Here are a few ideas of how to put things together to help along the way...... happy designing!


Very often less is more - this simple white bunny looks great on the patterned fabric and the cute bow makes this miniature cushion "pop".


This "folk-art" inspired bird really comes to life with some brightly coloured decorative stitching.


A needle case is always handy and can be made from two simple rectangles. Add a brightly colured motif to add a cheerful touch.


A felt heart decoration is always a favourite. The floral design is an ideal way to show off your stitching skills.


Monday, June 8, 2015

The Hope & Gloria Junior Sewing Bee - Our Fabulous Finalists


Our Finalists for the first Hope & Gloria Junior Sewing Bee - WOW!

So today the good news was delivered to the last of our fabulous finalists and we have announced who will be joining us for the Grand Final of the first ever Hope & Gloria Junior Sewing Bee on 28th June. The whole Hope & Gloria Team are super-excited and we can't wait for the big day to arrive.

We had a total of 70 entries in round one of the competition. They came from schools far and wide across the counties of Berkshire and Surrey where we run our sewing clubs and it was a true delight to find that our first ever Junior Sewing Bee was met with such enthusiasm.

To say that we were overwhelmed by the quality of the competition entries is an understatement and it was incredibly difficult to pick out just 30 of the children to take through to the final.

All of the runners up have been given a very rare but well deserved "Hope & Gloria Commendation For Creative Sewing" and have received their certificates over the past week. They should all be very proud of their achievements - the whole team think that they are amazing and we hope you will enter the competition again next year.

Our thirty finalists now have to plan what they will make for the final. Their amazing round one entries are featured in the slide show above. Well done to those of you who are in the Grand Final - looking forward to seeing you on the day for what promises to be a fun and fabulous event!

Monday, June 1, 2015

Crazy Daisy Pin Cushion Tutorial


There is no doubt that the humble pin-cushion is a must for any sewing enthusiast.

We have given up on pin wheels in our sewing clubs as the pins kept falling out and we have returned to good old fashioned fabric pin cushions to keep things tidy, not to mention safe(!)

Needless to say the children love these Crazy Daisy Pin Cushions and they really brighten things up. As well as making them for practical reasons it has been fun to exercise my creativity on a small scale.

They are great for using up scraps as well as looking cute. Here's how to make them:

You will need:


2 Felt circles 9cm in diameter
1 felt strip 3cm x 20cm
1 white felt flower shape
small yellow circle (centre of the daisy)
20cm ribbon
Cotton Thread

Step one:


Sew the yellow circle to the centre of the daisy and sew the daisy to the centre of one of your felt circles. Sew the ribbon down the centre of the felt strip.

Step two:

Fold the felt strip in half lengthways and sew across the top edge to make a complete circle and then turn the right way around forming a ring.

Step three:


Position the outer edge of the felt circle in to the felt ring you have made with your felt strip and line up the outer edges. Sew them together all the way around. I have used blanket stitch (it's a personal favourite), but you could also use over stitch or a small running stitch close to the edge.

Step four:


Repeat the same process with the second felt circle and sew in to place on the bottom leaving a small gap to add stuffing. Once the pin cushion is nice and firm, sew up the remaining gap.


Your pin cushion is complete and ready to use. As you can see they are a quick and easy make - time to sew a few more!